Air bubbles in decals may sometimes dissipate on their own, especially if Will Air Bubbles in Decals Go Away are small. Larger bubbles might require manual intervention to remove.
Applying decals can enhance the visual appeal of various items, from vehicles to electronics. It’s a task that requires precision and patience, as improper application can result in unsightly air bubbles beneath the surface of the decal.
While air bubbles are a common issue, they can often be addressed with simple techniques.
Focusing on proper decal application methods will minimize the likelihood of bubbles forming.
For those already dealing with bubble troubles, understanding the factors that affect their resolution can be pivotal.
Items left in a warm environment typically see small air bubbles disappear over time, as the adhesive becomes more pliable and allows trapped air to escape.
Larger bubbles might not vanish on their own and could require direct action, such as puncturing and pressing the air out, to achieve a smooth finish.
The Nature Of Air Bubbles In Decals
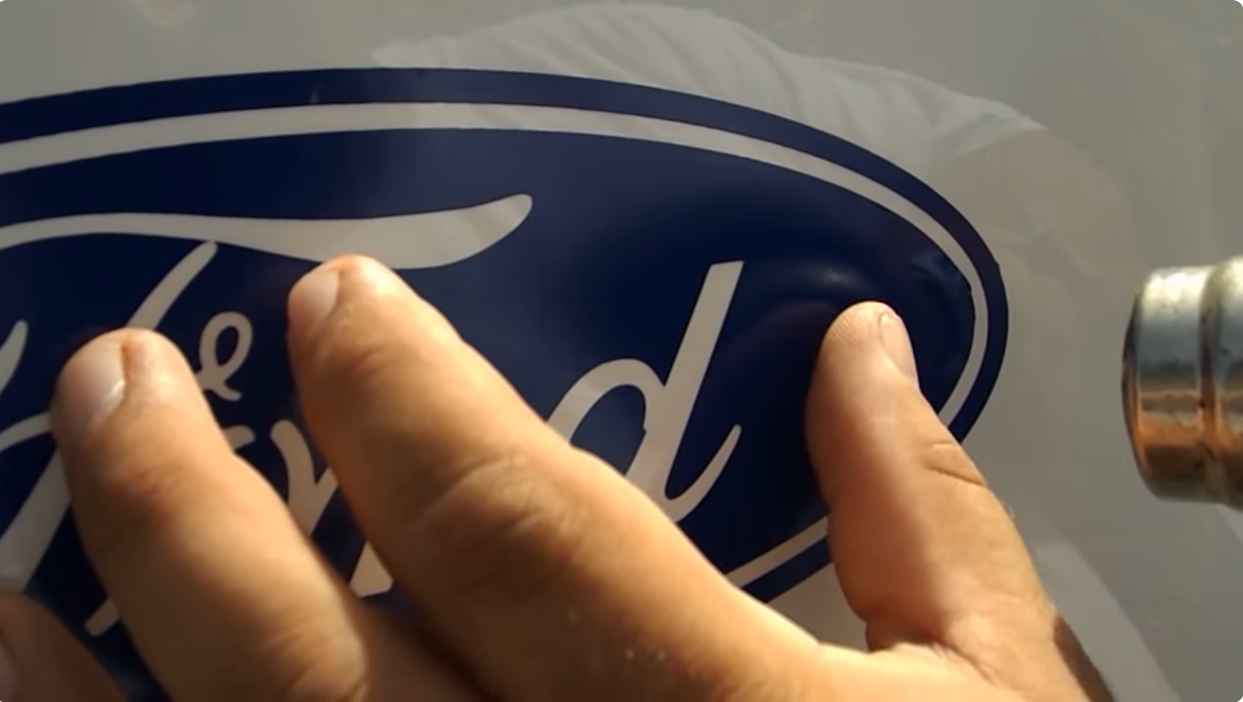
The Nature of Air Bubbles in Decals often raises concerns for those applying vinyl graphics and stickers. Between the smooth surface of your object and the adhesive-backed decal, tiny pockets of air can get trapped. These bubbles not only disrupt the sticker’s appearance but can also compromise its adherence and longevity.
Causes Of Air Bubbles
A variety of factors contribute to air bubble formation:
- Surface debris: Dust and dirt create an uneven surface.
- Improper application technique: Rushed or unskilled application can trap air.
- Hasty removal: Yanking away release paper too quickly introduces bubbles.
- Temperature issues: Applying decals in extreme temperatures affects the vinyl’s flexibility.
Types Of Decals Prone To Bubbling
Some stickers are naturally more susceptible to air bubble issues:
| Decal Type | Bubbling Likelihood |
|---|---|
| Thick vinyl decals | Lower |
| Thin vinyl decals | Higher |
| Large surface area decals | Higher |
| Perforated window decals | Moderate |
Initial Placement And Air Entrapment
Applying decals can be straightforward or frustrating. Proper initial placement is vital to avoid air entrapment, which causes pesky air bubbles. Let’s explore the right application techniques and common errors during the application process.
Proper Decal Application Techniques
The best start leads to a smooth finish. Smooth means no air bubbles. Here’s how to apply decals correctly:
- Clean the surface: Dirt-free surfaces allow better adherence.
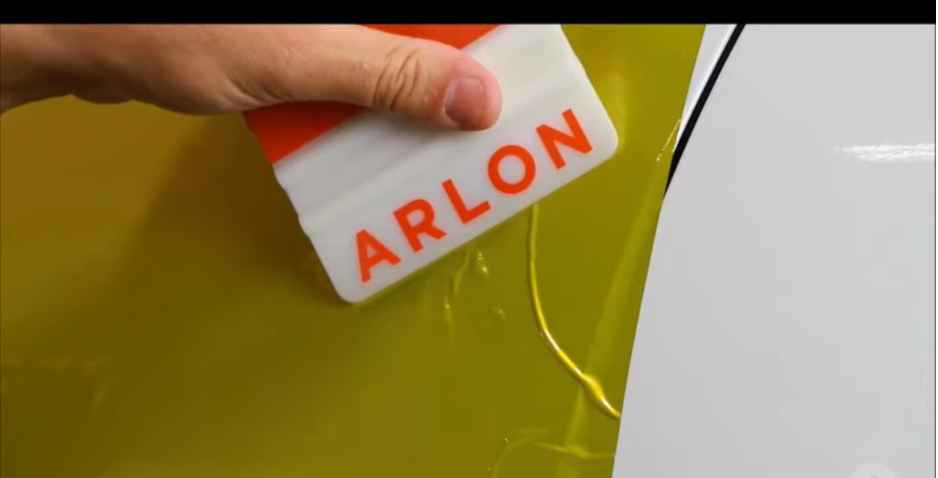
- Use a squeegee or credit card: For even pressure and bubble-free results.
- Apply slowly and evenly: Rushing increases bubble risk.
- Start from the center: Push outwards to escape the air.
Common Mistakes Leading To Air Bubbles
Common mistakes can lead to air bubbles. Identify these to avoid the same pitfalls:
- Not cleaning the surface: Grease or dust create air pockets.
- Rushing the application: Slow and steady does the trick.
- Not using a tool: Fingers are not as effective as squeegees.
- Ignoring temperature: Very cold or hot conditions affect adhesion.
Short-term Versus Long-term Bubbles
Decals enhance the appearance of vehicles, walls, and other items with their unique designs. However, bubbles can form during the application. Some are temporary.
Others last longer. Knowing the difference is key to a smooth finish.
Characteristics Of Temporary Bubbles
Temporary bubbles often occur right after application. They’re usually caused by air caught under the decal. These small bubbles are common and tend not to last. With time or proper smoothing techniques, they disappear.
- Size: Small and less than 1/8 inch in diameter.
- Appearance: Appear sporadically, not grouped.
- Response to Pressure: Easily pushed out towards the edges.
- Disappearance: Typically vanish within a few days.
When Bubbles Signal A Lasting Problem
Long-term bubbles are a concern. They don’t go away on their own. These bubbles are often due to poor application techniques, dust, or dirt. They need extra attention to resolve.
| Indicator | Description |
|---|---|
| Size | Larger than 1/8 inch in diameter. |
| Location | Clustered together, may form patterns. |
| Reaction | Does not respond to pressure well. |
| Longevity | Remains weeks after application. |
The Self-healing Properties Of Vinyl Decals
Think of vinyl decals as the superheroes of the sticker world. They have self-healing properties that help them recover from pesky air bubbles.
These decals can bounce back to their smooth selves, making your surfaces look top-notch.
Material Memory And Air Release
Vinyl decals remember their original form. It’s like they have a built-in map to their perfect, flat shape. When applied, air trapped underneath can cause unsightly bubbles. But here’s the cool part:
- Heat activates their memory.
- The decal smooths itself out over time.
- Patience pays off – small bubbles often disappear.
Some vinyls have air release technology, with tiny channels that help air escape. This means:
- Even the novices get bubble-free results.
- Applying is a breeze, with fewer do-overs.
Environmental Factors Affecting Self-healing
Remember, the decal’s environment plays a part in healing. Here’s what to keep in mind:
| Factor | How It Affects |
|---|---|
| Temperature | Warmth speeds up self-healing, while cold slows it down. |
| Humidity | Moisture can be a sidekick, helping the decal settle in. |
| Sunlight | Direct sun offers a helping hand by softening the vinyl. |
Put your decal in the right spot, give it time, and watch as it takes care of those bubbles, all by itself!
Manual Methods To Remove Bubbles
Removing air bubbles from decals need not be a task that dampens your spirits. Those pesky pockets of air often find a way underneath your perfect stickers. Fear not, the manual methods outlined below will restore the smooth finish your decals deserve.
Tools For Bubble Removal
The right tools make all the difference when tackling decal bubbles. Let’s look at what you’ll need:
- Credit Card or Squeegee: A must-have for smooth scraping.
- Pin or Needle: For precision in puncturing tiny bubbles.
- Clean Cloth: Press down the decal after bubble removal.
- Heat Gun or Hair Dryer: Optional, for stubborn bubbles.
Step-by-step Guide To Flattening Bubbles
Here’s a fail-proof process to get your decals looking sharp:
- Inspect: Spot all bubbles by holding the decal at an angle.
- Prepare Surface: Ensure it’s clean for an easy glide.
- Heat (if needed): Use a heat source to loosen the decal.
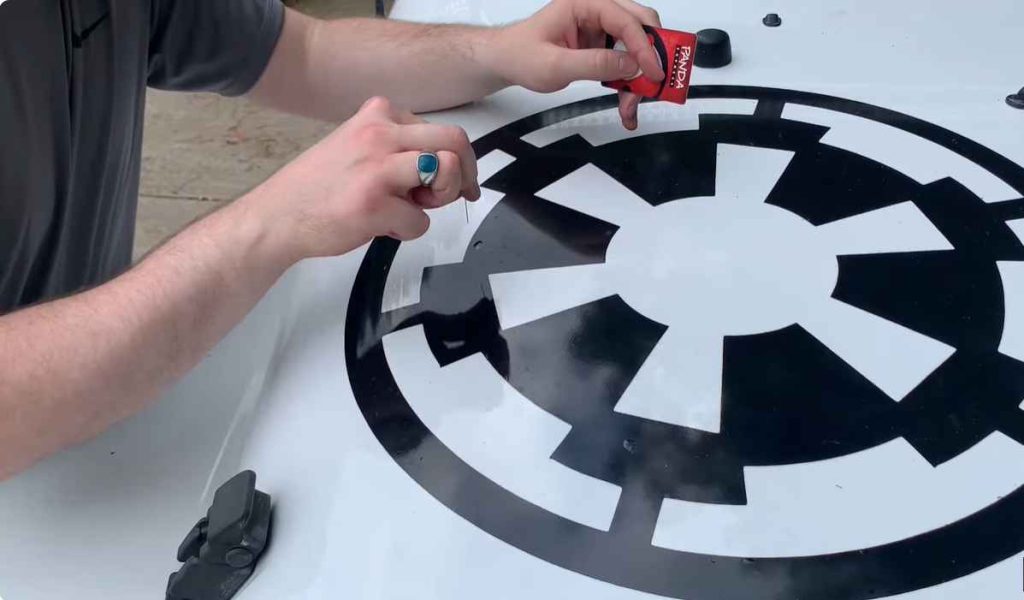
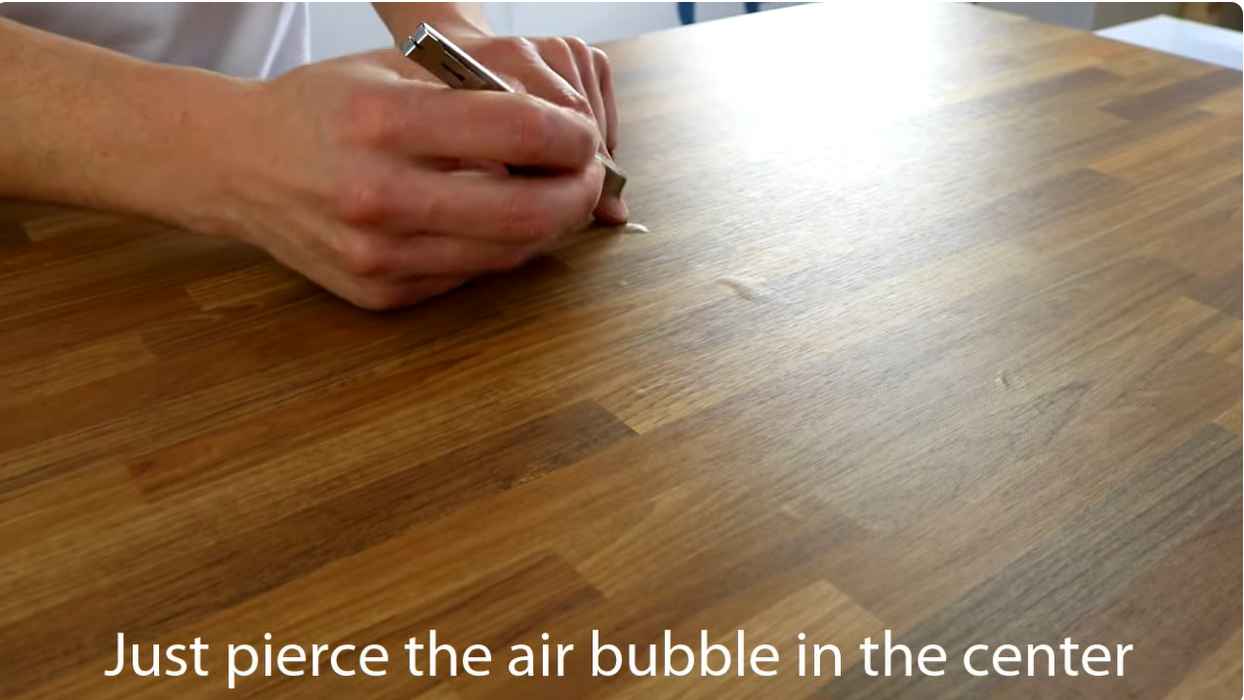
- Puncture: With a pin, make a tiny hole at each bubble center.
- Press: Use the cloth with a credit card to push air towards the hole.
- Smooth Out: Finally, squeeze across the decal for a flat finish.
The Role Of Heat In Settling Decals
Imagine you’ve applied a new decal. Seeing air bubbles underneath can be worrisome. Will these pesky bubbles disappear? Heat might just be the solution you need.
When used correctly, heat helps to smooth out decals and eliminate unwanted air pockets, leaving you with a sleek, professional finish.
Heat Application Techniques
Correct heat application ensures decals stick without bubbles. A few trusted techniques help achieve this:
- Hairdryer: A common tool, it gently warms the decal.
- Heat Gun: Offers more precision than hairdryers, and is perfect for larger decals.
- Warm Water: Soaking small decals can make them more pliable.
Precautions And Best Practices
Though heat is helpful, it’s important to be cautious:
| Do: | Don’t: |
|---|---|
| Test the heat source on a similar material first. | Apply too much heat, as it can damage the decal. |
| Use gentle, sweeping motions to apply the heat. | Keep the heat source stationary for too long. |
| Let the decal cool before testing its adhesion. | Rush the process; patience is key for a smooth finish. |
Follow these steps to ensure a bubble-free decal application. Keep the temperature moderate to avoid causing any decal damage. With some care and the right technique, those air bubbles stand no chance.
Preventing Air Bubbles In Future Applications
Preventing Air Bubbles in Future Applications begins with a meticulous approach to applying decals. There’s nothing more frustrating than finishing a decal application only to find unsightly bubbles trapped beneath the surface. To avoid this, let’s dig into some effective strategies.
Surface Preparation Essentials
Before any decal touches a surface, prep work is key. Cleanliness is paramount.
- Wash the area with soap and water.
- Dry completely with a lint-free cloth.
- Use a squeegee to remove any residue or particles.
A spotless, dry, and smooth surface will welcome decals without the dreaded air bubble interference.
Advanced Application Strategies
Application techniques matter greatly. Here’s how to step up your game:
- Start with a hinge method; it anchors the decal and reduces movement.
- Heat can relax vinyl for a smoother finish.
- Flexible squeegees adapt to curves and avoid air trapping.
Practice patience and be steady—rushing increases the risk of air bubbles. By adopting these strategies, future decal applications should be pristine and bubble-free.
Expert Insights And Pro Tips
Welcome to our deep dive into the world of decals—a favorite among DIY enthusiasts and professionals alike. While a perfectly applied decal can transform any surface, pesky air bubbles can mar its flawless finish. Here’s a look at how experts tackle this sticky topic. With the right approach, unsightly bubbles stand no chance.
Advice From Decal Installation Professionals
Patience is key. Bubbles often work themselves out within a few days.
Temperature matters. Aim for a moderate ambient temperature during installation.
Squeegee effectively. Use a plastic squeegee to push bubbles to the edge.
Poking is a last resort. Tiny, inconspicuous holes can release trapped air.
Clean and dry surfaces. This ensures strong, bubble-resistant adhesion.
Longevity And Maintenance Of Bubble-free Decals
Maintaining a bubble-free appearance boosts a decal’s lifespan. A little care goes a long way.
- Regular inspections. Catch and address bubbles early.
- Gentle cleaning. A soft, damp cloth works best.
- Avoid harsh chemicals. They could weaken the adhesive.
- Protect from elements. Extreme weather can cause issues.
Remember, a sound application paves the way for a long-lasting, bubble-free decal.
Frequently Asked Questions Of Will Air Bubbles In Decals Go Away
Do Air Bubbles In Decals Disappear Over Time?
Generally, small air bubbles in decals can slowly dissipate within a few weeks. Heat can expedite this process, causing the vinyl to soften and the air to escape. However, larger bubbles might require manual intervention to remove.
How To Remove Air Bubbles From Decals?
To remove air bubbles, gently press them towards the decal’s edge using a flat tool, like a credit card. If they persist, a small pinprick can release trapped air. Smooth the decal afterward to reseal it and prevent peeling.
Can Air Bubbles Damage Decals?
Air bubbles themselves won’t usually damage decals, but if left unaddressed, they can lead to peeling or tearing. It’s best to remove bubbles promptly to maintain the decal’s appearance and longevity.
What Causes Air Bubbles In Vinyl Decals?
Air bubbles are often caused by trapped air during application or by not using a squeegee. Uneven surfaces or high humidity can also contribute to bubble formation when applying decals.
Conclusion
Summing up, the fate of air bubbles in decals is not sealed. Most often, small bubbles disappear with time and patience. For persistent or large bubbles, a swift poke and smooth can work wonders. Remember, the perfect application may need a bit of practice, but achieving a bubble-free finish is certainly possible!

