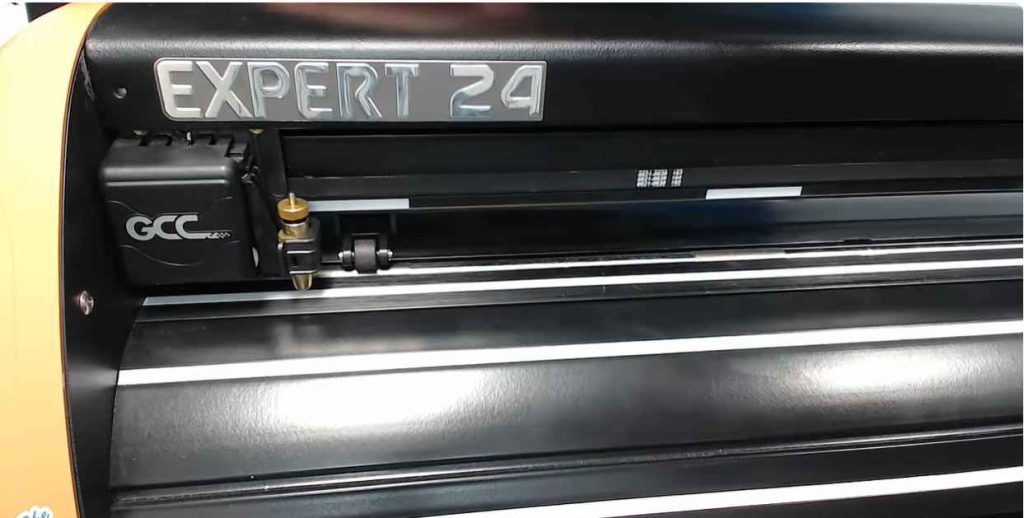
The GCC Expert 24 not cutting is often due to incorrect blade setup or a faulty connection. Troubleshoot by checking the blade depth, software settings, and hardware connections.
Exploring the realm of vinyl cutting, the GCC Expert 24 cutter serves as a trusted tool for crafters and small businesses alike.
Yet, encountering issues with your cutter not executing its primary function—cutting—can halt production and spark frustration.
Before diving into intricate solutions, simple checks, such as ensuring the cutting blade is correctly installed and calibrated to the right depth, can rectify the problem.
Adjusting pertinent software settings and verifying that the cutter establishes proper communication with your computer are also essential steps.
An intact and secure connection promotes smooth operation and is crucial for the seamless performance of intricate designs.
Keep your workflow efficient and error-free by maintaining your GCC Expert 24 with regular checks and an informed understanding of its operational dynamics.
Common Issues With Gcc Expert 24 Vinyl Cutters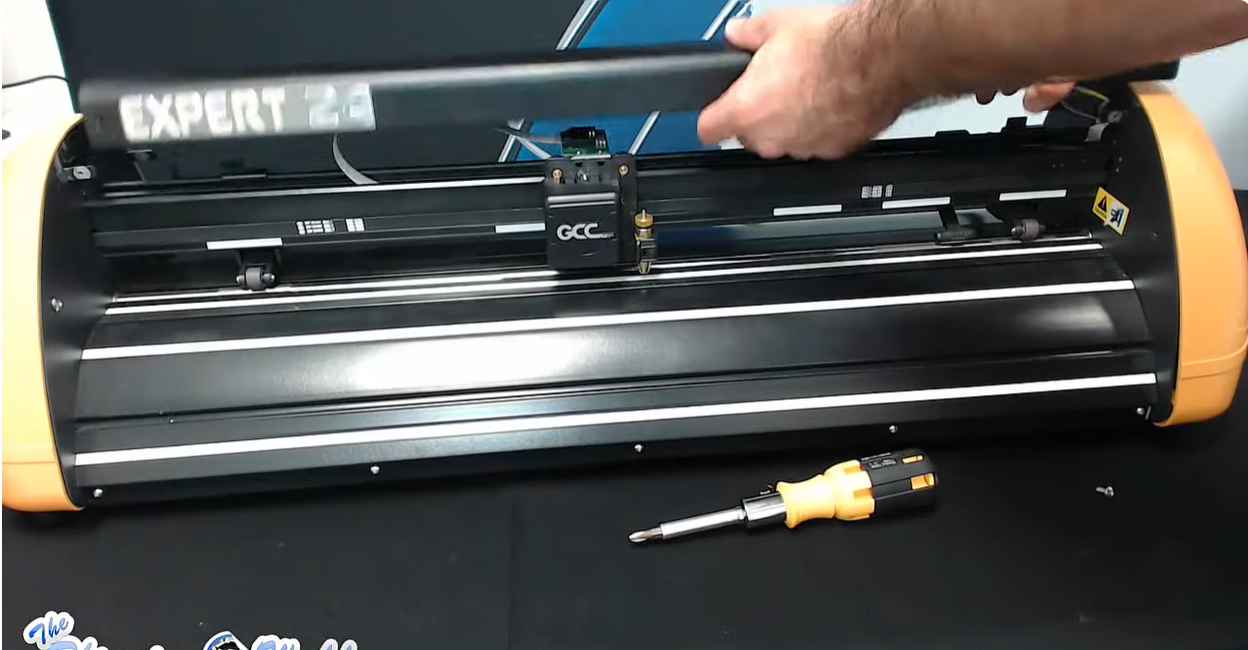
The GCC Expert 24 is renowned for its precise vinyl-cutting abilities. Occasional operational hiccups can hinder performance.
Quick and effective troubleshooting ensures the machine maintains its high efficiency.
Symptoms Of Cutting Problems
Recognizing the signs of cutting issues early can prevent larger problems. Key symptoms include:
- Incomplete cuts – vinyl isn’t fully severed
- Inaccurate cut paths – designs don’t match specifications
- Excessive blade wear – blades dull quicker than normal
- Poor tracking – Vinyl shifts during operation
Identifying Mechanical Vs. Software Issues
Distinguishing between mechanical and software problems is crucial. This differentiation guides the necessary steps to resolve the issue.
| Mechanical Issues | Software Issues |
|---|---|
|
|
Assessing Blade Quality And Condition
An optimal cutting performance on your GCC Expert 24 vinyl cutter hinges on high-quality blades. Proper assessment of blade condition is crucial.
A worn or inappropriate blade can lead to incomplete cuts, material waste, and potential damage to the machine.
It’s essential to know when to assess blades and replace them to maintain cutting accuracy and extend the life of your cutter.
Effects Of Dull Blades
- Decreased Precision: Dull blades cause jagged cuts.
- Material Snagging: The cutter may pull or tear the material.
- Overworking the Machine: Dull blades require higher pressure, stressing the cutter.
Regular inspection can help detect dull blades. Look for signs like unclean cuts or the cutter’s inability to fully penetrate the material.
Listen for unusual noises that may signal blade deterioration. Ensuring your blades are sharp not only improves your cutting quality but also preserves your materials and machine from unnecessary wear.

When To Replace Cutting Blades
Understanding the lifespan of your cutting blades is integral to smooth operation. There are clear indicators that signal the need for a blade replacement:
- Blades struggle to cut materials they once handled with ease.
- Significantly increased pressure settings are required for basic cuts.
- Visual inspection reveals blade dullness or damage.
It’s advisable to have spare blades and replace them regularly based on usage frequency. Keeping a log of blade changes can help track wear patterns and predict future replacements.
Optimal cutter performance relies on fresh, sharp blades tailored to your cutting needs.
Calibrating The Blade’s Cutting Depth
When your GCC Expert 24 isn’t cutting as expected, blade calibration is key. This step ensures accurate and clean cuts every time. Your blade’s depth may need adjustment for various materials. Ensure the blade extends just slightly beyond the material thickness. Follow these steps for a precise cut.
Steps For Proper Calibration
- Turn off the cutter and remove the blade holder.
- Loosen the blade adjustment knob.
- Insert the blade, ensuring only a tiny tip protrudes.
- Test the blade on the sample material. It should barely scratch the surface.
- Adjust as needed for minimal blade exposure.
- Secure the blade holder back in place.
Always test on scrap material. Double-check that the new settings provide smooth cuts before proceeding with your project.
Troubleshooting Depth Issues
If calibration adjustments don’t resolve cutting issues, consider these tips:
- Verify the blade is not dull or damaged. Replace if necessary.
- Check the blade holder for debris. Clean for unobstructed blade movement.
- Make sure the cutting strip is intact and smooth. Replace if it shows wear.
- Revisit blade settings if cutting through material or not cutting at all.
Patience in calibration yields the best cuts. With careful adjustments, your GCC Expert 24 will perform optimally.
Checking Cutting Pressure Settings
Imagine your GCC Expert 24 vinyl cutter stops cutting properly. One common issue could be incorrect cutting pressure settings. Let’s dive into how to check and adjust these settings.
Optimal Pressure For Different Materials
Every material requires a unique pressure for a clean cut. Vinyl often needs a light touch, while thick cardstock demands more force. Use this guide to start:
| Material | Optimal Pressure Setting |
|---|---|
| Vinyl | 80-120g |
| Heat Transfer Material | 160-190g |
| Cardstock | 200-300g |
| Magnet Material | 350-400g |
Adjusting Pressure According To Thickness
Check the material’s thickness before you adjust the pressure. Thin materials work best with less pressure. Thicker ones need more. Follow these simple steps:
- Select the Material Setting on your GCC Expert 24.
- Locate the Pressure Adjustment area.
- Test Cut with a small shape to check the pressure.
If the material isn’t cut through, increase the pressure. If it cuts too deep, reduce it. Small adjustments lead to perfect cuts.
Maintaining The Cutting Strip
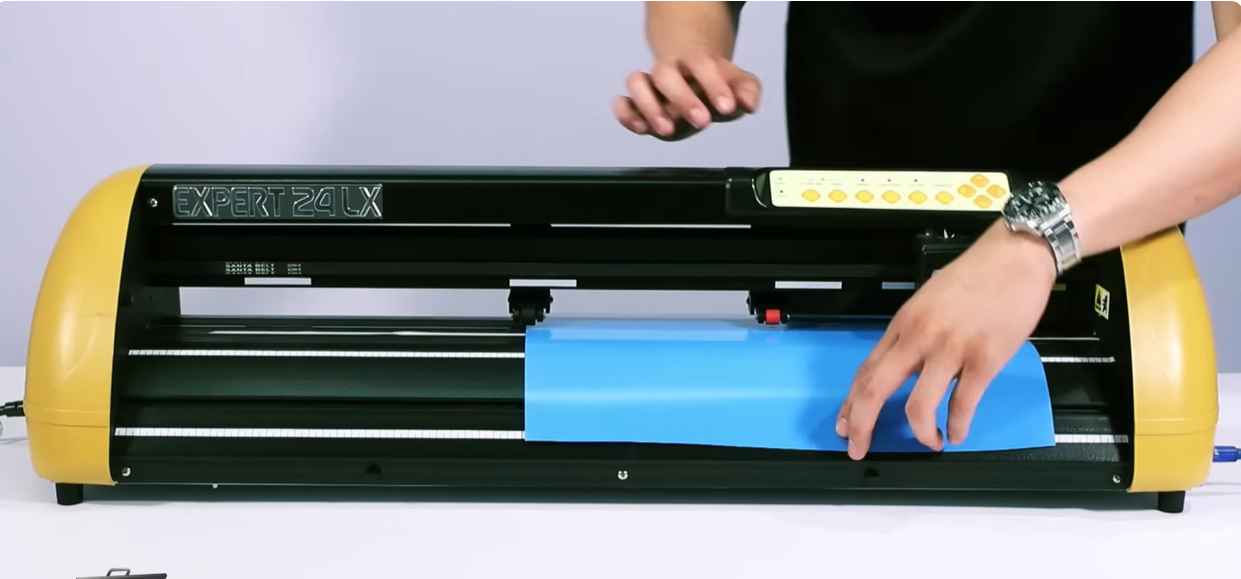
If your GCC Expert 24 vinyl cutter isn’t performing as expected, don’t overlook the cutting strip. This vital part ensures a smooth cutting process. Regular check-ups can prevent performance issues. Read on to understand common issues and solutions regarding the cutting strip.
Signs Of Wear And Tear
A damaged cutting strip often shows clear signs. Look out for these:
- Inconsistent cuts: If your designs aren’t cutting properly, the strip might be to blame.
- Visible gouges: Deep cuts in the strip signify it’s time for a replacement.
- Erratic behavior: The cutter behaving unexpectedly can indicate strip issues.
Replacing The Cutting Strip
Follow these steps to replace your cutting strip:
- Turn off the machine: Safety first. Make sure the cutter is off.
- Remove the old strip: Carefully lift the old strip away from the device.
- Clean the area: Wipe down any debris or adhesive residue.
- Align the new strip: Place it carefully, ensuring it’s straight.
- Adhere firmly: Apply pressure to secure the strip in place.
Replacing the strip might seem daunting, but it’s a simple step towards flawless cuts. Address issues early and keep your cutter in top shape.
Software Configuration And Drivers
The success of every cutting project with the GCC Expert 24 vinyl cutter relies heavily on software configuration and drivers. Correct settings and updates can mean the difference between a flawless cut and a project gone awry. Let’s troubleshoot two critical areas: software updates and driver installations.
Updating Gcc Expert Software
Keeping your software up-to-date is essential for peak performance. An outdated software can lead to communication issues between your computer and the GCC Expert 24. Follow the steps below:
- Visit the GCC official website.
- Go to the Support or Downloads section.
- Find the latest version of the software.
- Download and install it on your computer.
After updating, restart your computer and cutter for the changes to take effect.
Ensuring Correct Driver Installation
Without the right driver, your cutter might as well be invisible to your computer. Here’s how to ensure proper driver installation:
- Disconnect the GCC Expert 24 cutter from your computer.
- Uninstall any previous drivers that may conflict.
- Reboot your computer.
- Download the latest driver from the GCC website.
- Follow the provided installation guide carefully.
- Reconnect your cutter only after driver installation is complete.
Proper driver installation should restore the cutting capabilities of your GCC Expert 24.
Connectivity And Interface Challenges
The GCC Expert 24 is a reliable vinyl cutter popular in the crafting world. Like most tech devices, it can face issues. A common problem is the device not cutting.
Often, this traces back to connectivity and interface issues. Let’s explore the hurdles related to USB and serial connections and learn how to solve them to get back to seamless cutting.
Usb Vs. Serial Connections
The GCC Expert 24 supports both USB and serial connections. Each has its ups and downs. USB connections are modern and faster. They are common on most computers today. Serial connections are older. They are not as fast as USB. Some newer computers don’t have serial ports.
| Connection Type | Speed | Compatibility |
|---|---|---|
| USB | Fast | High – Fits most computers |
| Serial | Slower | Lower – Older computers or require an adapter |
If the GCC Expert 24 does not cut, check the connection type. Make sure it matches your computer’s ports. Use the right one for your machine. Check cables for damage. Try different ports on your computer.
Solving Connection Errors
Fixing connection errors can be simple. Follow these steps:
- Reboot your computer – This refreshes the system.
- Check cables – Make sure they are intact and secure.
- Update drivers – Install the most recent drivers for your GCC Expert 24.
- Test ports – Try plugging into a different USB or serial port.
- Consult the manual – Follow the troubleshooting steps provided.
Sometimes, the simplest fixes can resolve connectivity issues. Other times, you may need a professional. If you tried everything and the cutter still does not work, contact GCC support.
Material Handling And Mat Alignment
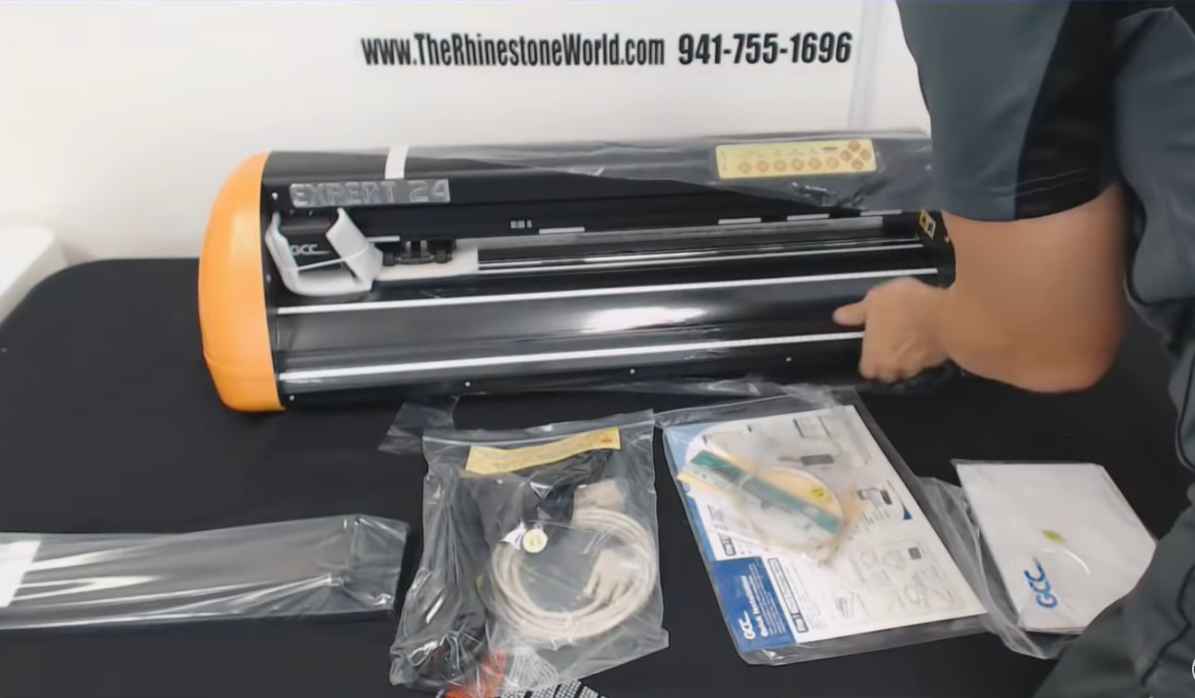
Material Handling and Mat Alignment are critical aspects when working with the GCC Expert 24 vinyl cutter. Without proper setting up of materials and careful mat alignment, the cutter might not perform to its full potential.
Precise cutting relies heavily on these preliminary steps. This guide walks you through the effective ways to secure your materials and align the mat to guarantee consistent, accurate cuts every time.
Securing Materials For Precision Cutting
To ensure precision cutting with your GCC Expert 24, a firm grip on your materials is essential. Unsecured materials can shift during the cutting process, leading to distorted designs or even damage to your machine. Here’s how to secure your materials right:
- Choose the right mat: Select a cutting mat that fits your material size.
- Clean the mat: Remove any debris or dust to prevent slipping.
- Apply the material: Place it evenly on the mat, smoothing it out to avoid air bubbles.
- Use proper hold-down methods: Depending on the material, use clips or brayers to hold it in place.
Aligning The Mat For Consistent Results
A mat that’s aligned incorrectly can throw off your entire project. Ensuring the mat is squared up with your GCC Expert 24 cutter head is non-negotiable for consistent results:
- Check the alignment: Place the mat against the roller bars to see if it’s straight.
- Adjust as needed: If it’s off, gently adjust until the edges are parallel with the machine’s axis.
- Set the origin point: Choose a point on the mat as the starting position for cuts.
- Run a test cut: Perform a small test to ensure the alignment is correct before proceeding.
By focusing on these initial steps before cutting, you minimize the likelihood of errors and ensure the GCC Expert 24 lives up to its name.
Professional Support And Resources
Gcc Expert 24 owners sometimes face cutting issues. Effective solutions require reliable support. Professional support and resources are key. This guide highlights how support services and online resources can get your cutter back in action.
Utilizing Gcc Technical Support
Direct support from GCC can diagnose and solve cutting issues quickly. Let’s outline how to access their expertise:
- Visit the official GCC website.
- Locate the Support or Service section.
- Fill in the support request form with details of the issue.
- Expect a prompt response with professional guidance.
Contacting GCC offers dedicated help from experts who understand your machine perfectly.
Community Forums And Online Help
Online communities can be goldmines of information. Discover how to leverage these forums for troubleshooting your GCC Expert 24:
- Search for forums specialized in GCC plotters.
- Join groups and share your issue.
- Browse existing threads for similar problems and solutions.
- Engage with other users and trade tips and tricks.
Peer-to-peer advice in these forums can often provide quick, practical fixes.
Frequently Asked Questions For Why Is Gcc Expert 24 Not Cutting And How To Solve It
Why Is My Vinyl Cutter Not Cutting Properly?
Your vinyl cutter may not cut properly due to dull blades, incorrect blade depth, or inadequate pressure. Ensure that the device’s settings are accurate, the cutting mat is sticky enough, and the machine is well-maintained for optimal performance.
Why Is My Graphtec Cutter Not Completing Cuts?
Your Graphtec cutter might not finish cuts due to a dull blade, incorrect force settings, or software glitches. Ensure the cutting blade is sharp, adjust the force, and check for updates or reinstall the cutting software.
Why Does Gcc Expert 24 Fail To Cut?
The GCC Expert 24 may fail to cut due to dull blades, incorrect force settings, or a malfunctioning cutting mat. Performing regular maintenance and adjusting the settings according to the material can often resolve the issue.
What Are Common Gcc Expert 24 Troubleshooting Steps?
Common troubleshooting steps include checking the blade sharpness, ensuring proper blade exposure, and verifying that the cutting force and speed are correctly set. Also, confirm that the device’s firmware is up-to-date.
Conclusion
Troubleshooting your GCC Expert 24 cutter can seem daunting, but armed with the right knowledge, it’s manageable. Remember, assessing the connections, updating or reinstalling drivers, and regular maintenance are key. If issues persist, seeking professional help is a wise step.
Keep your cutter in top shape and enjoy uninterrupted crafting and design projects.

