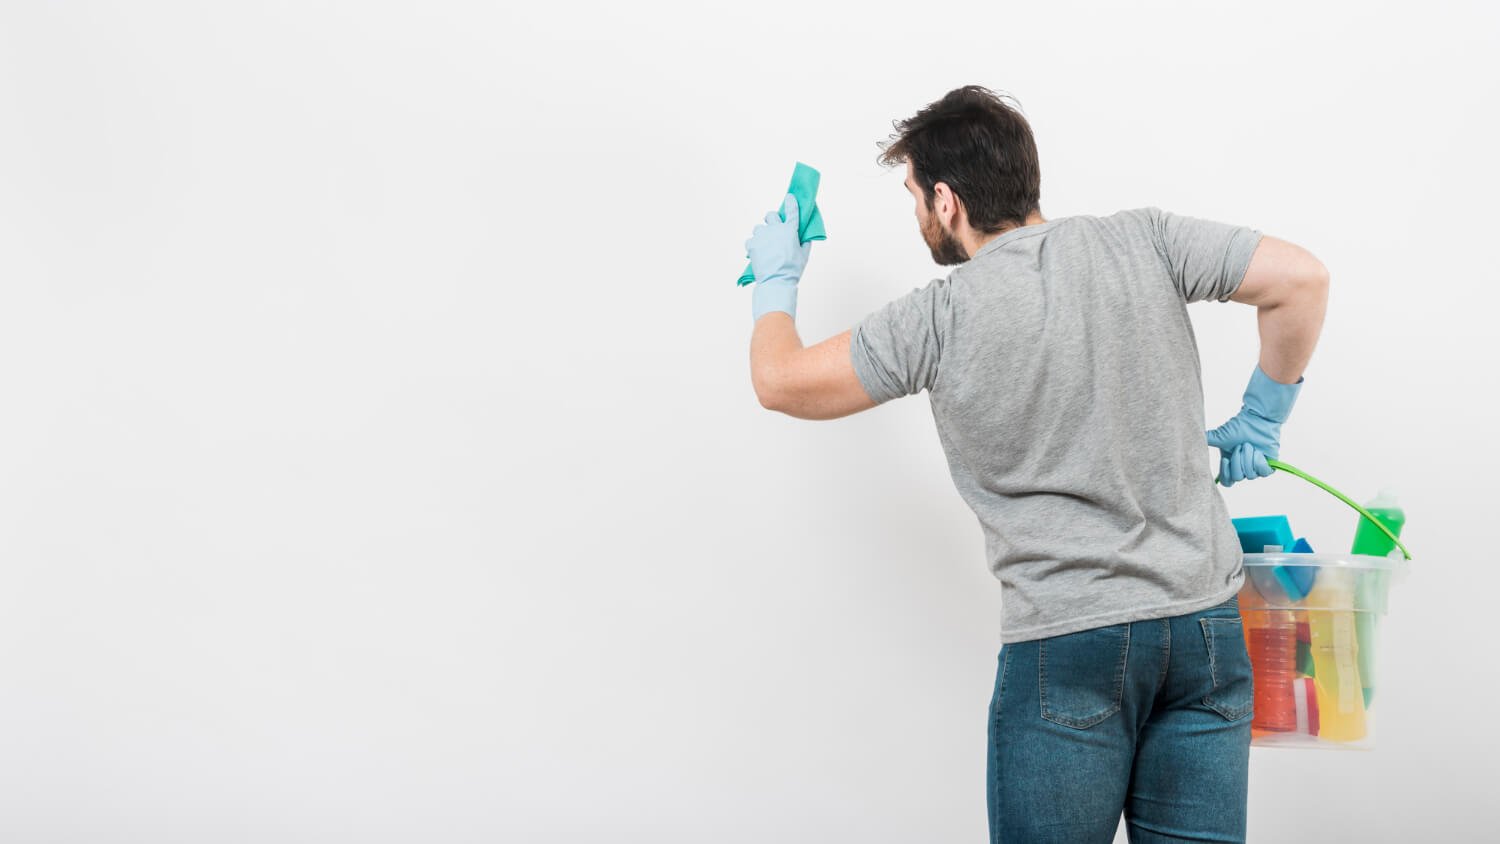
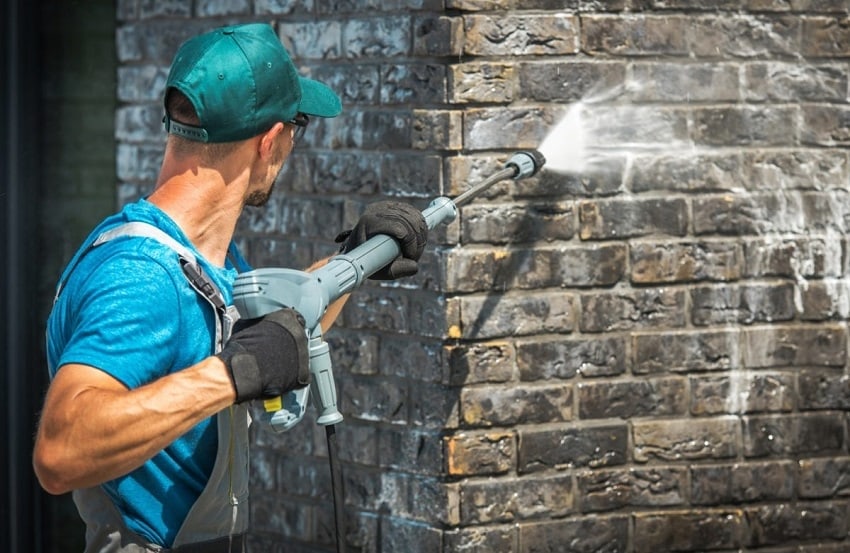
You should wait at least 24 hours after cleaning walls before you paint them. This allows adequate drying time for the walls to ensure proper paint adhesion.
Preparing to paint a room involves a critical step of cleaning the walls to remove dirt, oils, and dust that could hinder the paint’s ability to stick. It’s a process often overlooked by DIY enthusiasts eager to transform their space with a fresh coat of paint.
Before embarking on this home improvement project, one must understand the importance of allowing walls to dry completely after washing. This patience not only seals in your hard work but also guarantees a smoother, more professional-looking finish. The time spent waiting ensures that each stroke of paint adheres correctly, highlighting why this preparatory stage is as valuable as the actual painting. So before you dip your brush into the paint, make sure the canvas of your walls is optimally prepped to receive the new color they are about to wear.
Introduction To Wall Preparation For Painting
Before transforming your space with a fresh coat of paint, proper wall preparation is crucial. Clean walls lead to smooth finishes and lasting results. Dive into the essentials of wall preparation to ensure a flawless paint job.
Understanding The Importance Of Wall Cleaning
Clean walls are the canvas for your paint. Dirt, oil, and grime interfere with adhesion. A thorough cleaning guarantees the paint sticks better and stays beautiful. Regular wall cleaning maintains the integrity of the paintjob. It also uncovers potential issues like cracks or mould.
Factors Affecting Wall Cleaning And Painting Timelines
Several elements determine when you can paint after cleaning. Drying times vary due to:
- Humidity levels: High humidity prolongs drying.
- Wall material: Different materials absorb moisture differently.
- Type of cleaner used: Some cleaners evaporate faster than others.
- Airflow: Good ventilation facilitates quicker drying.
Account for these factors to time your painting project perfectly. Aim for dry, clean walls for an optimal painting experience.

Credit: www.homedepot.com
Selecting The Right Cleaning Agents
Before you paint your walls, cleaning them is crucial. But what cleaners should you use? The right choice ensures your walls are ready for a fresh coat in no time. Let’s explore the options together.
Chemical Cleaners Vs. Natural Solutions
Choosing between chemical cleaners and natural solutions affects the safety and effectiveness of your prep work. Chemical cleaners work fast and can tackle tough stains. Natural solutions, on the other hand, are gentle and eco-friendly.
Here are some top picks:
- Chemical Cleaners: These pack a punch against dirt and grease.
- Natural Solutions: Vinegar and water mix does wonders and is kind to the environment.
Safety Considerations For Wall Cleaning Products
Safety first! Be mindful of the products you use. Strong chemicals can harm your skin and eyes. They may also release harmful fumes. Keep your space well-ventilated and use gloves and masks where necessary.
Here’s a quick safety checklist:
| Safety Gear | Usage |
|---|---|
| Gloves | Protects hands |
| Masks | Shields against fumes |
| Goggles | Defends eyes |
Cleaning Techniques For Different Wall Surfaces
Before painting, a clean wall ensures the paint adheres well and looks smooth. It’s important to know the right cleaning techniques for the surface you’re working on, whether it’s been painted before or not.
Approaches For Painted Vs. Unpainted Walls
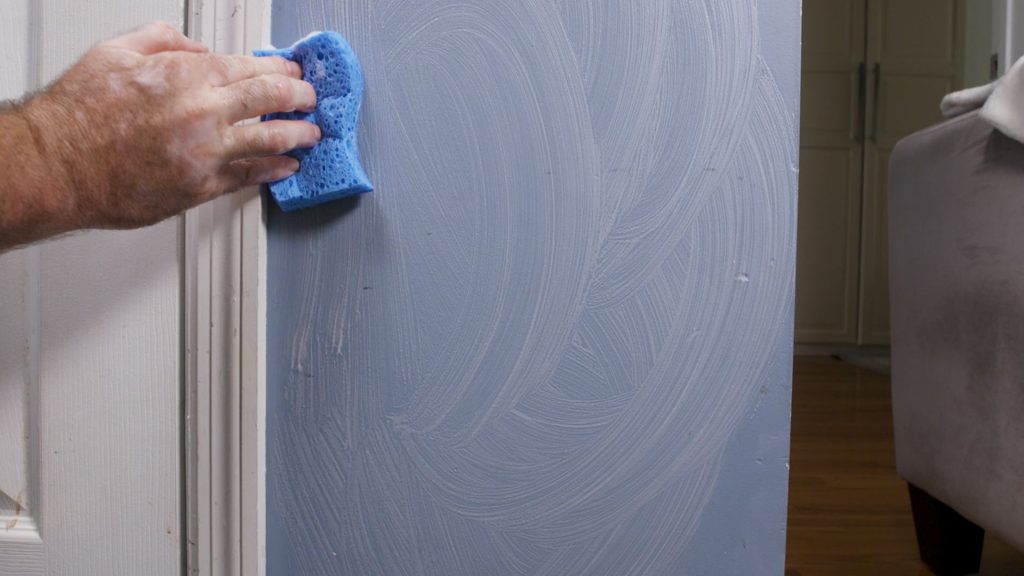
Painted and unpainted walls need different care when preparing for painting. For painted walls, use a mild soap solution with warm water. Apply gently with a soft cloth or sponge. Rinse with clean water. Unpainted walls, on the other hand, might require a TSP (trisodium phosphate) solution. Be sure to wear gloves and rinse the walls after.
- Painted Walls: Mild soap and warm water. Gently wipe.
- Unpainted Walls: TSP solution. Wear protective gear. Rinse well after.
Dealing With Tough Stains And Grease
Removing tough stains and grease takes more effort. Use a stronger degreaser or a paste of baking soda and water for grease spots. Apply the paste, let it sit, and then scrub off. For other tough stains, consider a commercial stain blocker or primer to prevent bleed-through after painting.
| Type of Stain | Cleaning Solution | Application Method |
|---|---|---|
| Grease | Degreaser or Baking Soda Paste | Apply, Let Sit, Scrub Off |
| Other Stains | Stain Blocker / Primer | Apply as Directed |

Credit: www.singletrackpainting.com
Timing Your Wall Cleaning Before Painting
Before a fresh coat of paint graces the walls, a clean surface is key. Proper timing for cleaning walls before painting ensures the best finish. Let’s look at the right sequence and timing to prepare walls.
Ideal Timeframes For Drying After Cleaning
It’s critical to allow walls to thoroughly dry after cleaning. This prevents paint from trapping moisture, which can lead to peeling or mold. Clean walls should ideally dry for:
- 24 hours in optimal conditions with good airflow and moderate temperatures.
- 48 hours if surfaces feel damp to the touch or thick cleaning solutions were used.
To check dryness, press a clean cloth against the wall. No moisture should transfer.
Adjusting Time Based On Humidity And Temperature
Humidity and temperature greatly affect drying times. Warm, dry settings speed up the process, while cool, damp conditions slow it down. Use these tips to adjust drying times:
| Condition | Adjustment |
|---|---|
| High Humidity | Extend drying time by 12-24 hours |
| Low Humidity | Standard drying time may be adequate |
| Cool Temperatures | Extend drying time by 12-24 hours |
| Warm Temperatures | Drying time may be reduced but observe standard precautions |
Use fans or dehumidifiers to manage conditions. Avoid applying heat directly, as this can cause uneven drying.
Priming And Its Effect On Painting After Cleaning
Priming and Its Effect on Painting After Cleaning
Before the vibrant hues of a new paint job can transform a room, walls need proper preparation. Priming plays a crucial role in this process. It’s the bridge between the walls’ past life and their future brilliance. This section will explore how primers interact with recently cleaned walls and their importance in achieving a flawless paint finish.
The Role Of Primer In Painting Preparation
- Enhances Paint Adhesion: Primer creates a smooth, adherent surface for paint.
- Seals Porous Surfaces: It prevents paint from soaking into the wall, providing even coverage.
- Blocks Stains: Primer covers existing stains, ensuring they don’t bleed through new paint.
- Improves Paint Durability: With primer, the paint job lasts longer and looks better.
Compatibility Of Primers With Recently Cleaned Surfaces
After cleaning, walls must be dry before applying primer. Dry times vary based on humidity and wall material. A simple test can determine if the wall is ready for primer. Just press a small piece of clear plastic against the wall. Any condensation indicates more drying time is needed.
| Surface Type | Estimated Drying Time Before Priming |
|---|---|
| Plaster | 48-72 hours |
| Drywall | 24 hours |
| Wood | 48 hours |
| Concrete | 72 hours or more |
Once walls are completely dry, the primer should adhere without issues. The correct primer choice also affects the end result. Water-based primers are ideal for latex paints, while oil-based primers pair well with oil-based paints.

Credit: majesticwindowsexteriorcleaning.com
Technical Aspects Of Paint Adhesion To Clean Walls
Preparing walls for painting is key. Clean walls ensure paint sticks better. Paint adhesion refers to how well paint binds to the wall surface. Clean surfaces allow for a smooth application. They prevent peeling and chipping. Understanding this process helps achieve professional results. Below, we look at how wall cleanliness is crucial for paint adhesion.
How Clean Surfaces Enhance Paint Adhesion
Timing is important after cleaning walls. Let walls dry completely. Different factors affect drying time:
- Humidity levels
- Wall material
- Cleaner type
Wait at least 24 hours before painting. This ensures a successful bond.
Bonding requires a dust-free surface. Clean walls give the paint a grip. Removing dirt and oils is critical. A clean wall surface matters. Spots and residues ruin paint jobs. Properly cleaned surfaces lead to lasting finishes.
Signs That Walls Are Not Ready For Painting Post-cleaning
Even after cleaning, walls might need more time. Look for these signs:
| Signs | What It Means |
|---|---|
| Moisture | Wall is not dry enough |
| Sticky Residue | Cleaner not fully removed |
| Dust/Debris | Surface not cleaned properly |
Damp walls repel paint. Let walls dry. Wipe again if needed. Before painting, ensure the wall feels dry. It should not feel tacky. Run your hand over the surface. It should feel clean and smooth. Any residue means cleaning is not complete. A clean wall feels solid and dust-free.
For clean walls, use proper tools. Soft sponges or microfiber cloths work best. Rinse walls after. This avoids cleaning agent buildup. These steps are important. Rigorous prep ensures a great paint job.
Post-cleaning Wall Assessment And Troubleshooting
Clean walls are the canvas for a fresh coat of paint. But, painting too soon can ruin your hard work. Always check your walls after cleaning. This ensures they’re ready for painting. Let’s find out how to check them properly.
Examining Walls For Moisture And Residues
Moist walls spell trouble for new paint. It needs a dry surface to stick well. Use a moisture meter or touch the wall. It should feel dry. See any spots? Wait a day more. Use a simple test for residues. Swipe a cloth over the wall. Any color on the cloth means more cleaning.
Tackling Unforeseen Issues Before Proceeding
Sometimes, issues pop up. Take them seriously. Fix any wall damage before painting. Spackle small holes and sand them down. For larger concerns, enlist a pro. It’s vital for the best paint job. Double-check your work. The goal is a smooth, dry, and clean wall.
- Wall moisture: Wait until dry
- Surface residue: Clean again if needed
- Damaged areas: Repair and sand for smoothness
Best Practices And Final Considerations
Before diving paintbrush-first into a wall refresh, it’s crucial to understand the best practices and final considerations. Proper preparation ensures a flawless finish and lasting results. Let’s explore the optimal wait time and a pre-painting checklist to guarantee a smooth painting experience.
Revisiting The Recommended Waiting Period
Patience is key after washing walls. This wait guarantees that any moisture deep within the walls completely dries out. Most experts suggest at least 24 hours for drying; it could be longer depending on the conditions. High humidity and cooler temperatures often require up to 48 hours. Always feel the wall; it should be completely dry to the touch.
Last-minute Checklist Before Starting To Paint
- Inspect the wall surfaces. Look for any missed spots or remaining moisture.
- Tape off trim, ceilings, and baseboards. Use painter’s tape for crisp edges.
- Cover the floors and furniture. Protect them with drop cloths or plastic sheeting.
- Gather your equipment. Brushes, rollers, and paint should be on hand.
- Prime the walls if needed. It helps to conceal stains and enhance paint adhesion.
- Stir your paint. Ensure color consistency throughout your project.
Frequently Asked Questions Of How Long After Cleaning Walls Can You Paint
How Long After Cleaning Can You Paint?
Before painting, allow the surface to dry completely post-cleaning, typically waiting 24 hours. Ensure the area is arid for optimal paint adhesion.
Can You Wash Walls And Paint The Same Day?
Typically, painting walls immediately after washing is not recommended. Ensure walls are completely dry, which often requires waiting at least 24 hours before applying paint.
Is It Ok To Paint Over Dirty Walls?
It’s not recommended to paint over dirty walls; clean them first for best results. Dirt and grease can prevent paint from adhering properly, leading to an uneven finish.
How Do You Get Dust Off Walls Before Painting?
Begin by gently wiping walls with a soft cloth or duster. For thorough cleaning, mix mild soapy water and sponge-clean the surface. Rinse with a damp cloth to remove soap residue. Let the wall dry completely before painting.
Conclusion
Wrapping up, waiting the right amount of time after cleaning walls before painting ensures a pristine finish. Typically, give it a 24-hour interval before applying paint. Patience rewards you with long-lasting, professional-quality results. Ready to transform your space? Grab your brush once the walls have fully dried!

