To clean a kitchen exhaust fan, first switch off the power and remove the filters. Soak the filters in hot, soapy water while you clean the fan and hood with a degreaser.
Keeping a kitchen exhaust fan clean is vital for maintaining good air quality and fire safety in your home. Regular cleaning prevents the buildup of grease and dirt that can restrict airflow and diminish the efficiency of your exhaust fan.
A well-maintained exhaust fan not only improves the air circulation but also extends the life of your appliance. Grease accumulation can also pose a fire hazard, making periodic cleaning a crucial aspect of kitchen safety. Homeowners should schedule routine cleanings every few months or more often if heavy cooking occurs. By keeping your kitchen exhaust fan clean, you ensure a safer and more pleasant cooking environment while potentially saving on costly repairs or replacements due to neglect.

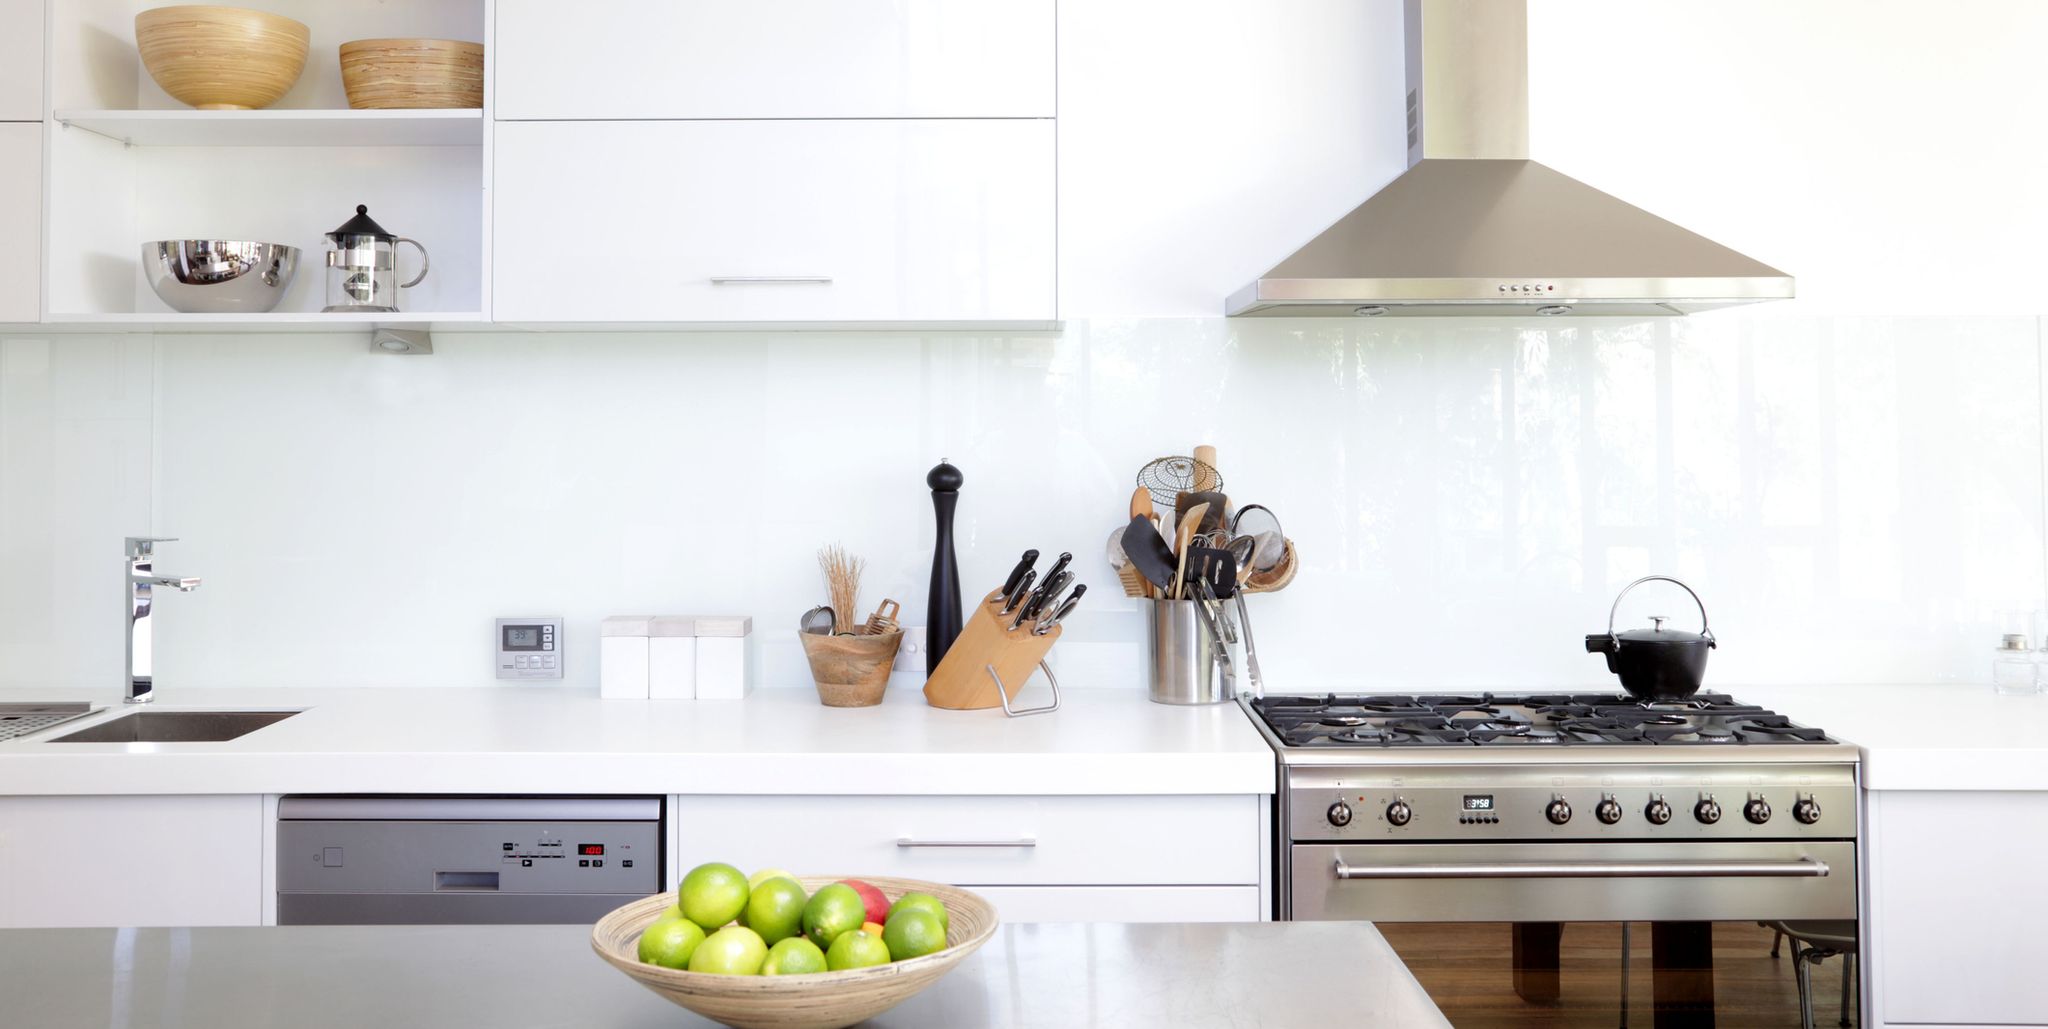
Credit: www.goodhousekeeping.com
Introduction To Kitchen Exhaust Fan Maintenance
The kitchen exhaust fan works tirelessly to remove smoke, grease, and odors from your cooking space. Like any other appliance, regular maintenance ensures its efficiency and longevity. A clean exhaust fan also helps maintain good air quality, preventing health hazards and preserving the overall hygiene of your kitchen.
Understanding The Importance Of A Clean Exhaust Fan
A kitchen exhaust fan’s primary role is to ventilate and purify the air we breathe while cooking. Clogged filters and blades can reduce the fan’s performance, leading to unpleasant smells and a higher risk of fire. Consequently, a routine cleaning schedule is not just about cleanliness but is also a critical safety practice.
- Improves air quality
- Reduces fire hazards
- Enhances fan efficiency
Recognizing Signs Of A Dirty Exhaust Fan
Spotting a dirty kitchen exhaust fan is straightforward. Here are some clear indications:
- Visible grease buildup on the fan or surrounding area.
- Louder than normal operation, indicating strained motor function.
- A noticeable decline in suction power or efficiency.
- Odors lingering long after cooking has finished.
Maintaining a clean kitchen exhaust fan is simple yet vital. It protects your health and ensures a safe cooking environment. By understanding the importance and recognizing when it’s time to clean, you’re on the right path to a healthy, happy kitchen.
Preparation And Safety Measures
Keeping your home kitchen’s exhaust fan in top condition is important for your health and safety. Before diving into the cleaning process, gathering the right supplies and taking safety precautions is essential. The exhaust fan works hard to remove odors and grease, so it’s normal for it to need a deep clean. Let’s ensure you’re ready and protected before we start disassembling the fan.
Gathering Necessary Cleaning Supplies
Collecting the correct cleaning tools is the first step.
- Screwdrivers (to open the fan)
- Bucket (for mixing cleaning solutions)
- Dish soap (a degreaser)
- Baking soda (for stubborn grime)
- Soft-bristle brush (to scrub without scratching)
- Microfiber cloths (to clean and dry)
- Old toothbrush (for tight spaces)
- Vacuum (for initial dust removal)
- Gloves (to protect your hands)
Ensuring Safety Before Starting The Cleaning Process
Guaranteeing your safety is vital. Follow these guidelines:
- Turn off the kitchen power supply to avoid electric shocks.
- Use a sturdy ladder to reach the exhaust fan safely.
- Wear gloves to protect from grease and grime.
- Keep your eyes safe with goggles.
Initial Steps To Disassemble The Exhaust Fan
| Step 1 | Turn off the circuit breaker powering the exhaust fan. |
| Step 2 | Remove the fan’s cover carefully using a screwdriver. |
| Step 3 | Clean the cover in soapy water and let it soak. |
| Step 4 | Take out the filter and prepare it for cleaning. |
| Step 5 | Use the vacuum to remove dust and debris inside the fan. |
Step-by-step Cleaning Process
A clean kitchen exhaust fan means a spotless, odor-free kitchen. Here’s a simple guide.
Cleaning The Grease Filter: Methods And Tips
Begin with the grease filter, the first defense against grime.
- Switch off and unplug the exhaust fan.
- Remove the filter carefully.
- Prepare a mix of hot water and degreasing dish soap.
- Soak the filter for at least 10 minutes.
- Scrub gently with a non-abrasive brush.
- Rinse thoroughly and let it dry.
Tip: For non-electrical metal filters, use baking soda and vinegar for extra shine.
Washing The Fan Blades And Interior Housing
Clean blades and housing prevent buildup and maintain airflow.
- Wipe blades with a damp cloth dipped in soapy water.
- Use a small brush for corners and edges.
- Clean interior housing with a sponge.
- Dry components with a soft cloth.
Addressing Stubborn Grease And Grime
Grime buildup requires a tougher approach.
| Surface | Cleaning Agent | Tool | Duration |
|---|---|---|---|
| Filter | Baking soda + Vinegar | Brush | 30 minutes |
| Blades | Commercial degreaser | Cloth | 15 minutes |
| Housing | Ammonia solution | Sponge | 20 minutes |
After using stronger solutions, always ensure proper rinsing and drying.

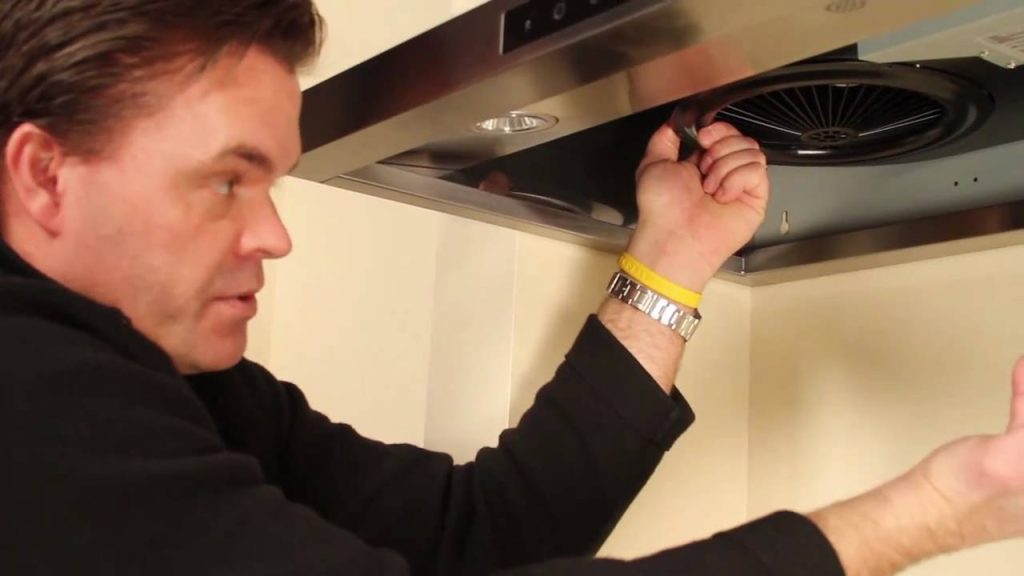
Credit: www.prolinerangehoods.com
Reassembling And Maintenance Tips
Reassembling your home kitchen exhaust fan correctly ensures it runs smoothly after cleaning.
Follow these steps for a hassle-free process and learn how to maintain your fan for longevity and optimal performance.
Steps To Reassemble The Exhaust Fan After Cleaning
- Ensure all parts are completely dry before reassembly to prevent rust or mold.
- Start by attaching the fan blade to the motor shaft.
- Position the motor and blade assembly back into the housing, securing it with screws.
- Reconnect electrical components with care, aligning wires and plugs correctly.
- Replace the cleaned filters and grill cover, ensuring they fit snugly.
- Turn the power back on and test the fan for proper operation.
Note: Always handle components gently to avoid damage.
Regular Maintenance To Prolong The Life Of Your Fan
- Perform a quick wipe-down weekly to remove surface grease and dirt.
- Every month, check and clean the filters to prevent build-up.
- Inspect the fan motor and apply lubricant semi-annually to reduce wear.
- Keep a record of cleaning and maintenance activities.
Sticking to a routine prevents unexpected breakdowns and maintains efficient operation.
Troubleshooting Common Post-cleaning Issues
| Issue | Solution |
|---|---|
| Fan doesn’t start | Check electrical connections and restore power if needed. |
| Noisy operation | Ensure all parts are secure and lubricated. |
| Weak suction | Verify that the fan blade is correctly installed and undamaged. |
Keep this troubleshooting guide handy for quick fixes and smoother operation post-cleaning.
Prevention And Best Practices
Keeping your kitchen exhaust fan clean not only maintains a pleasant cooking environment but also enhances your home’s safety.
Culinary Habits To Reduce Grease Buildup
Smart cooking habits can minimize grease accumulation in your exhaust fan. Here’s how:
- Cover pots while cooking to contain splatters.
- Use splatter screens on pans when frying.
- Cook on lower heat to reduce grease-laden steam.
- Clean surfaces after each use to prevent grease spread.
Scheduling Regular Cleaning Intervals
Regular maintenance keeps your exhaust fan running smoothly. Follow this schedule:
| Frequency | Task |
|---|---|
| Weekly | Wipe fan exterior and blades. |
| Monthly | Clean filters with degreaser. |
| Annually | Deep clean entire system. |
When To Call A Professional For Maintenance
For complex tasks, seek professional help. Signs you need an expert include:
- Noisy operation or vibrations
- Decrease in exhaust efficiency
- Visible signs of excessive grease
Professional maintenance ensures a deep clean and system checkup.

Credit: www.goodhousekeeping.com
Frequently Asked Questions Of How To Clean Home Kitchen Exhaust Fan
How Do I Clean My Kitchen Exhaust Fan At Home?
Turn off your kitchen exhaust fan. Remove the filters and soak them in hot, soapy water. Scrub the fan blades and housing with a degreaser. Rinse the filters thoroughly and let them dry. Reassemble the fan once everything is dry.
Do Kitchen Exhaust Fans Need To Be Cleaned?
Yes, cleaning kitchen exhaust fans regularly is essential to remove grease and prevent fire hazards, ensuring efficient operation.
How Do You Get Grease Out Of A Kitchen Fan?
To remove grease from a kitchen fan, turn off power, dismantle the fan, soak parts in hot soapy water, scrub with a brush, rinse, and dry before reassembling. Use a degreaser for tough grime.
How Do You Clean A Greasy Range Hood Filter?
Begin by removing the filter from the hood. Soak it in hot, soapy water, then scrub with a non-abrasive brush. Rinse thoroughly and let dry before replacing.
Conclusion
Maintaining your kitchen’s exhaust fan shouldn’t be a chore. Regular cleaning preserves its functionality and ensures a fresh atmosphere in your home. Embrace these simple steps, and let your kitchen breathe freely. With a spotless exhaust fan, every meal prep becomes a cleaner, more enjoyable experience.
Keep the grease at bay, and happy cooking!

